Friday 30 August 2013

Vintage Weddings

Weddings are such beautiful events. A time when all is right with the world for the couple who are choosing to become a family. My youngest son recently became engaged, and so my thoughts have naturally turned to weddings and the importance of love and family.

Being a lover of all things vintage I popped over here to see what other Australian Etsy sellers have found that could help to make a vintage themed wedding complete. Enjoy! Lisa xx
Vintage Gloves Women's - White
Sparrow Finds

Monday 26 August 2013

Refurbished Window Seat / Storage Box

Have you ever purchased something and been so glad that you did, for months and even years afterwards? That's how I feel, and I'm sure will continue to feel about this piece of furniture, 
even though I've only had it a little over a year.


It caught my eye at an auction, and it was an impulse buy. I needed somewhere to store packaging supplies for my Etsy store, and it's ability to double as a seat was an added bonus.

I don't really know what to call it, so I have sort of settled on window seat / storage box because it is both and I've yet to come up with a more creative description :)

This baby is huge! It measure 233cm x 45cm x 45cm which in Imperial measurements is
 a whopping 7.64 feet long.

Fortunately although it is big, and well made, it isn't overly heavy. Two people can carry it quite comfortably...when it's empty.

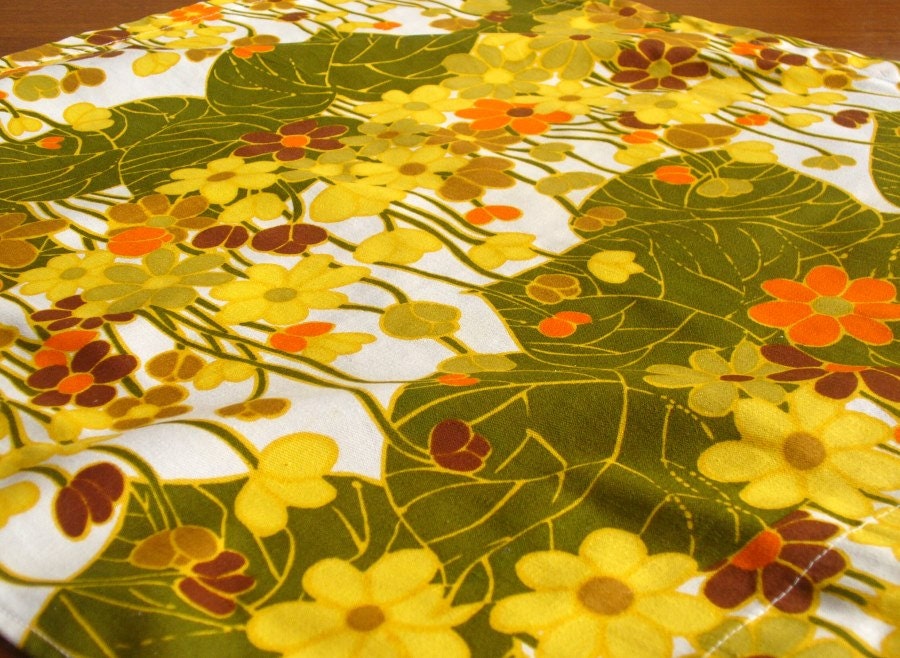
There was of course a problem once we got it home... what my 16 year old daughter succinctly named as 'its ugliness factor'. Being 16 and very sensitive to her mother's odd tastes and love of all things vintage...she was not overly impressed! Pretty much everyone else agreed that the thick dark varnish and orange toned swirly Art Deco upholstery had to go!

But these things take time and it wasn't until earlier this year that I made a start on its rescue! The following steps took place over a four month period because it was for our home and I wasn't in any hurry, but it could have easily been completed in a couple of days if you had all the materials on hand.


Removing the upholstery was fairly straightforward, if a little dusty. I have this handy tool that I purchased previously that makes removing tacks and staples a breeze. There actually wasn't all that much to the upholstery. Just the top cover and some filling, which seemed like lots of scrap material and stuffing.


I did have some maintenance to do. First I removed the lid. The base of the box had been attacked by wood borers at one stage, and although they had long since gone I felt that seeing as I was going to refinish it, I may as well replace the base as well. A lovely man at my local hardware store cut two pieces of a solid plywood sheet to my measurements so it was simply a matter of hitting out the old base and nailing in the new...simple!


Can you see the old varnish on the left, that's what I wanted to be rid of. The mouse sander came in handy and an hour or so all over did the job.


I chose to paint the panels and around the lid with Blake & Taylor's French Linen furniture paint. This paint is so easy to apply, and doesn't require a primer. Two coats did the job. I still wanted the nice pieces of wood to be exposed and so I waxed both the woodwork and the paint work with a natural beeswax and then reattached the lid.


Next came the upholstery. I had some seating foam cut to size. I used some spray adhesive between the foam and the box so that it wouldn't move around while I put everything together.  My biggest concern with this project was that the foam would look boxy, something I didn't want. So I trimmed the sharp edges from around the foam facing up with an electric knife...amazing...just forgot to take a pic. The next step was to cover the foam with some Dacron which I bought by the metre from a foam / upholstery supplier. I sprayed the underside of the Dacron to stop it moving as well. I learnt from my last upholstered chair project that the Dacron really helps to soften the foam and makes for a very comfy seat! You can see that project here. The final step is to cover it all with unbleached calico.


Covering the foam and Dacron with the calico before you put on the top coat of fabric is really important. Because you can pull the calico nice and tight around the fillings, which allows the calico to take the bulk of the strain from the tacks rather than your more expensive fabric. Lay the calico on top of your Dacron, tack in the centre of each side of the project, stretching as you go, then keep working your way around each side, I hammered a couple of tacks on each side at a time always keeping the project straight and taut. I only hammered the tacks in halfway until I was happy with the result, then when happy I drove all the tacks home. Neaten up around the calico by trimming with scissors. The project is now ready for the final fabric.


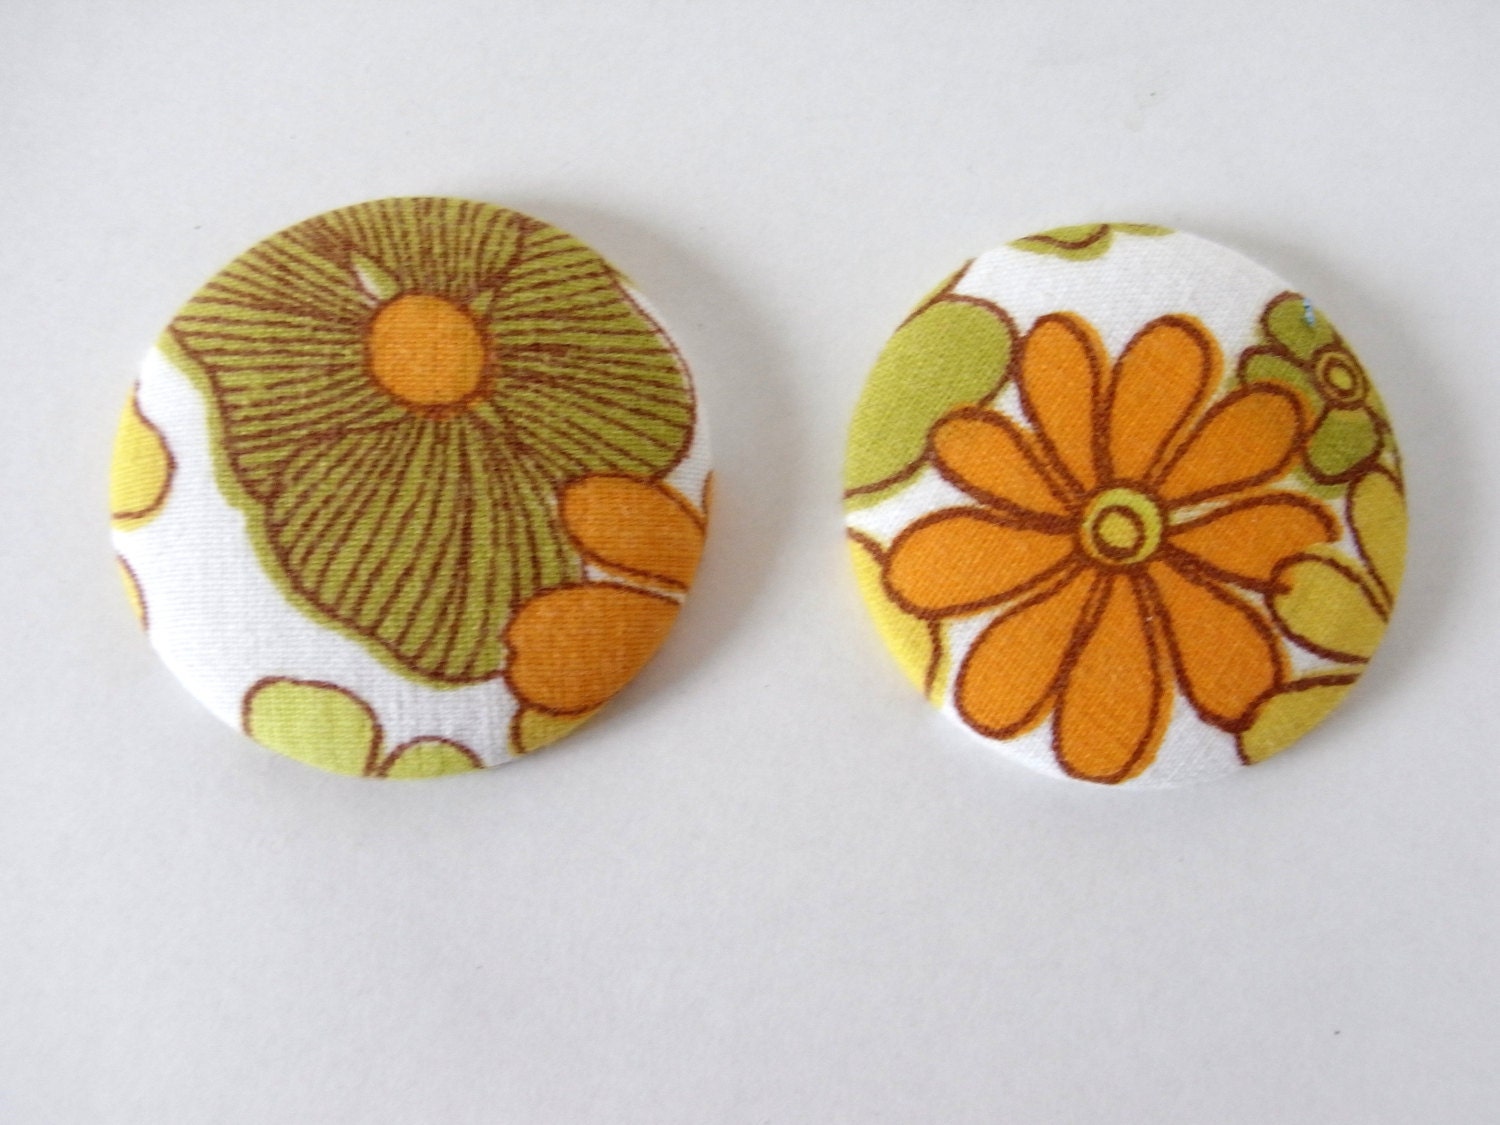
I had previously ordered some lovely swatches of hand printed linen fabric from Thea & Sami, I have been stalking her website for a couple of years now and was very keen to purchase some of her beautiful work. The decision was a hard one! Finally I settled on the one I wanted.


Bohemian Blooms, white on natural linen...perfect!


Putting on the top fabric was by following the same process as the calico, with the exception that I folded under the edges of the linen for a neat edge.


Finally I attached the trim 10 cm at a time to cover the tacks using a hot glue gun...being careful to make sure no hot glue got on the linen or me!


I'm very happy with the final result! Much easier than I had anticipated and definitely within the reach of most people, just by taking your time and thinking carefully about each step before you do it.

NOW, SOME BEFORE AND AFTERS!


I think this piece of furniture is going to have a long life at our home. 
I hope you like it as much as I do. 
Lisa xx

Tuesday 20 August 2013

Mellow Yellow

When dark clouds are threatening and heavy rain falling for weeks on end as it has been here recently, it's always encouraging to see a ray of sunshine or a spring bloom to brighten your day. Today I've put together a selection of lovely yellow vintage items for sale from other Australian Etsy sellers. They are sure to make you smile! Be sure to click on the link and browse their shops while you are here.
Lisa xx

Fabulous retro 70s Sunshine Yellow Bessemer Quartic Salad Set designed by Lionel Suttie, including original box packaging
Sally Saras Store
Vintage Leather Hand Bag Hand Tooled Rose Handbag Bohemian
Rosemyne Vintage


Vintage Yellow Orange Tangerine Plastic Beaded Necklace.
Grandmas Ring
Vintage wallpaper flocked damask
hayleyelise


The Travelling Musicians Illustrated by Dolli Tingle 1946
TriBecas Vintage
Vintage suit Jacket mini skirt fleur-de-lis print burnt orange Jackie Kennedy 60's citrus hand made handmade woman's ladies size small s 8
Kitsch Vintage Clothes

Fabulous 1970s Cafe Curtains
Fox and Thomas
Bessemer/Vogue: cups and breakfast bowls, set of six
That Retro Piece
Retro cotton drill remnant - colourful floral cotton 58 x 54 cm
Its Retro Darling

Big Vintage Retro Daisy Fabric covered buttons x 2 - craft supply
Love and Rummage


Monday 19 August 2013

Upholstered Chair

For as long as I can remember I have had a fascination with chairs and a desire to learn upholstery. Over the years I have collected an assortment of chairs that I would love to refinish. When I went to the library I invariably borrowed books on how to upholster, I looked into classes teaching upholstery but found the prices prohibitive and so finally thought that I would 'have a go' and teach myself.


 I found this lovely chair about a year ago at auction and thought it would be perfect to one day finish. It came home and went into the shed, along with six or so others that had similar potential. This week I pulled it out.


 I loved the detail on the ladder back and the front legs.


I removed the seat which was a piece of covered solid plywood screwed on in four places...pretty easy! Then it received a quick sand down with the mouse sander and by hand around the curvy bits.


I then brought it inside, to avoid the non-stop heavy winter rain we've been having and started the paint job. Because I used Blake & Taylor furniture paint I didn't need to prime. This paint is so easy to apply. I chose French Blue as the colour, and it does have a very nice French provincial look to it. Do you know you always start on the back of a chair first when you paint it? It makes the job easier.


 First coat done...it's always hard to get a photo showing the right colour inside a building, 
trust me it's French blue.
 I completed the second coat a few hours later and when it was dry I wiped it all over lightly with a piece of steel wool, dusted it off and then finished it off with a coat of natural beeswax.


 NEXT CAME THE NEW ADVENTURE!


I had borrowed this book from the Tasmanian State Library. I love this library and consider it one of the best things about living in Tasmania (but maybe that's a post for another time!)
The book was very helpful...and gave me the confidence to tackle the project myself.


I removed the top covering of the seating. I think it was some sort of vinyl. After removing the tacks and lifting the vinyl I found a very thin piece of foam which I discarded and a thin piece of rubber in good condition. Being a 'make do' sort of a person I decided to keep and reuse the rubber.


I had previously bought a piece of seating foam cut to size and some Dacron fibrefill which I bought by the metre. I used some spray adhesive to temporarily join them to each other and the plywood base with the rubber. I'd gotten so far but I didn't have any top fabric that matched my French blue chair and I was really trying to avoid buying anything new. The following morning at 3am I woke with a clear idea in my head of what I could use.


My family don't usually donate their denim to charity because I find that there is so much material that I can use for other projects like shopping bags etc. I remembered I had a few containers like this in the shed filled to the brim with old denim jeans. The idea formed to use the denim and I could hardly wait to get started when the clock reached a decent hour!


Because I had no piece of denim large enough to entirely cover the chair base, I chose to patchwork it together, this took about an hour and a half to complete.


The final steps included covering the foam and Dacron with a piece of calico (forgot to take a pic), to take the bulk of the strain from the upholstery tacks, then covering and tacking down the top denim cover with more tacks. I hammered them in part way at the centre of all four sides first, then worked my way around the cushion base using special care at the corners. When I was happy with how it looked, I drove all the tacks home.


The very final step was re-screwing the seat to the frame and attaching the bottom cloth to the underside of the chair...this stuff is quite cheap (around 85 cents a metre) but is so worth doing to give the chair that professional finish.

THE FINISHED RESULT!


The front...


...and the back! I have to say that the chair is now so comfortable! The Dacron over the foam really made a big difference and was not that expensive given the difference it made to the comfort and look of the seat.


So here it is... the Before and After. I am so excited to have done this and it is amazing how much confidence it has given me to keep going with some more upholstery projects. I hope you like it too. Lisa xx
P.S. This chair is for sale here.